
New – Train Custom Document Classifiers with Amazon Comprehend
Amazon Comprehend gives you the power to process natural-language text at scale (read my introductory post, Amazon Comprehend – Continuously Trained Natural Language Processing, to learn more). After launching late 2017 with support for English and Spanish, we have added customer-driven features including Asynchronous Batch Operations, Syntax Analysis, support for additional languages (French, German, Italian, and Portuguese), and availability in more regions.
Using automatic machine learning (AutoML), Comprehend lets you create custom Natural Language Processing (NLP) models using data that you already have, without the need to learn the ins and outs of ML. Based on your data set and use case, it automatically selects the right algorithm, tuning parameter, builds, and tests the resulting model.
If you already have a collection of tagged documents—support tickets, call center conversations (via Amazon Transcribe, forum posts, and so forth)— you can use them as a starting point. In this context, tagged simply means that you have examined each document and assigned a label that characterizes it in the desired way. Custom Classification needs at least 50 documents for each label, but can do an even better job if it has hundreds or thousands.
In this post I will focus on Custom Classification, and will show you how to train a model that separates clean text from text that contains profanities. Then I will show you how to use the model to classify new text.
Using Classifiers
My starting point is a CSV file of training text that looks like this (I blurred all of the text; trust me that there’s plenty of profanity):
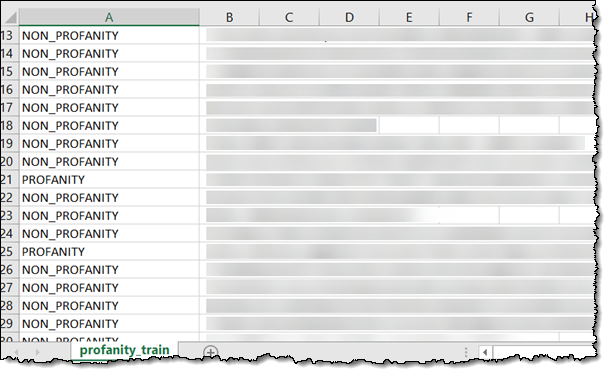
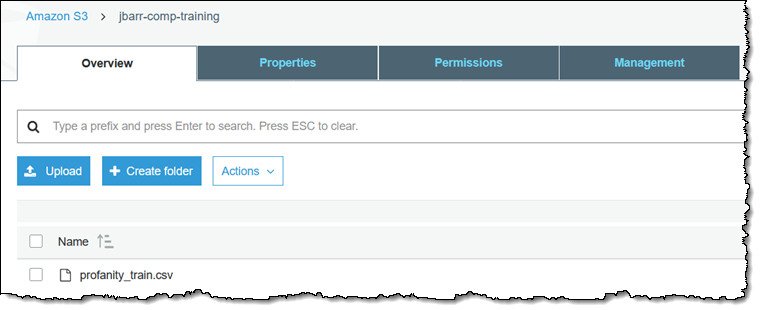
The training data must reside in an S3 object, with one label and one document per line:
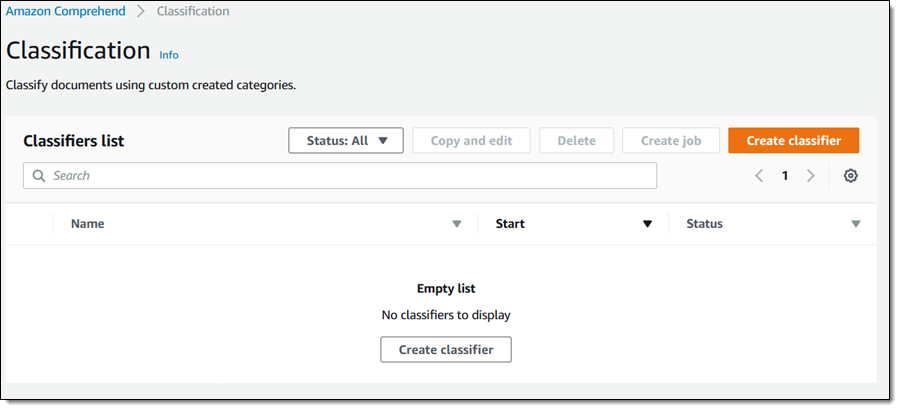
Next, I navigate to the Amazon Comprehend Console and click Classification. I don’t have any existing classifiers, so I click Create classifier to make one:
I name my classifier and select a language for my documents, choose the S3 bucket where my training data resides, and then create an AWS Identity and Access Management (IAM) role that has permission to access the bucket. Then I click Create classifier to proceed:

The training process begins right away:

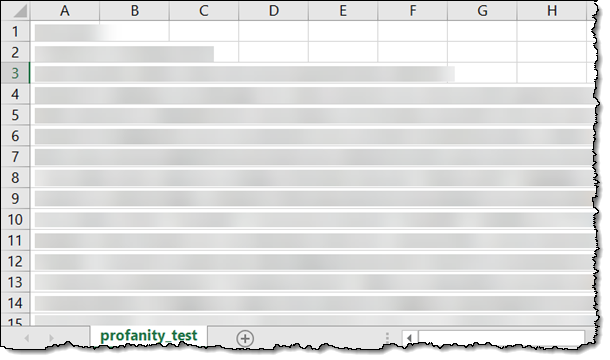
The status changes to Trained within minutes, and now I am ready to create an analysis job to classify some text, some of it also filled with profanity:
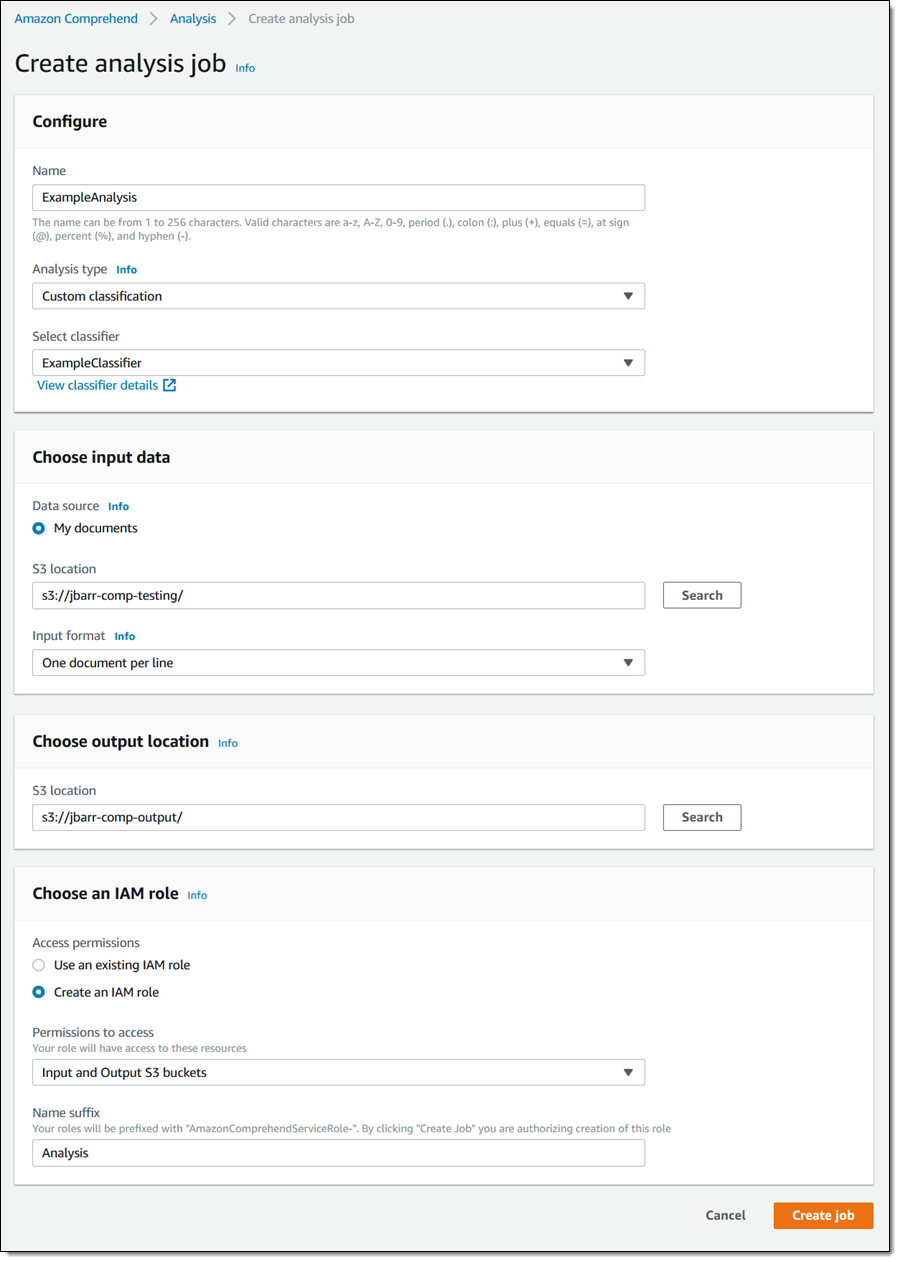
I put this text into another S3 bucket, click Analysis in the console, and click Create job. Then I give my job a name, choose Custom classification as the Analysis type, and select the classifier that I just built. I also point to the input bucket (with the file above), and another bucket that will receive the results, classified per my newly built classifier, and click Create job to proceed (important safety tip: if you use the same S3 bucket for the source and the destination, be sure to reference the input document by name):
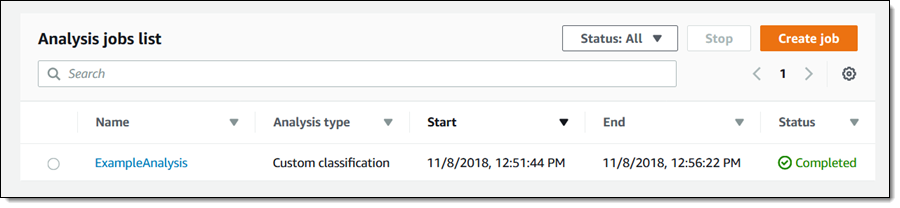
The job begins right away, and also takes just minutes to complete:
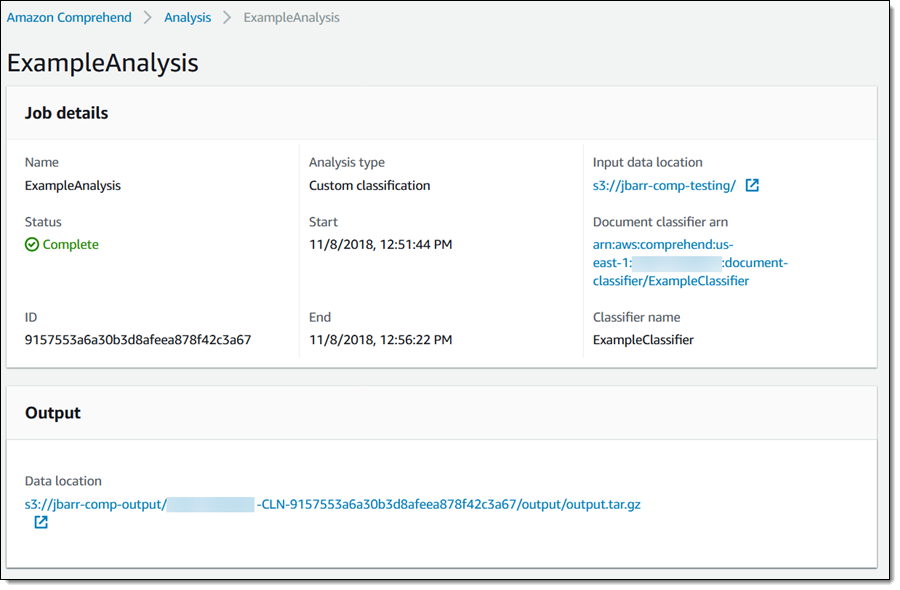
 The results are stored in the S3 bucket that I selected when I created the job:
Each line of output corresponds to a document in the input file:

Here’s a detailed look at one line:
As you can see, the new Classification Service is powerful and easy to use. I was able to get useful, high-quality results in minutes without knowing anything about Machine Learning.
By the way, ou can also train and test models using the Amazon Comprehend CLI and the Amazon Comprehend APIs.
Available Now
Amazon Comprehend Classification Service is available today, in all regions where Comprehend is available.
— Jeff;


from AWS News Blog https://ift.tt/2PvWFvn
via IFTTT
Comments
Post a Comment